6 minutes
SSH Agent Forwarding & Remote Upstream with GitHub & GCE
Originally published on Medium, Feb 20, 2020
SSH Agent Forwarding & Remote Upstream with GitHub & GCE
When working with a cloud-based distributed version-control system during software development like GitHub, there are a couple key configurations that will enable you to collaborate on a project and work on a remote server like GCE (Google Compute Engine). You need to provide credentials to push and pull content from GitHub which SSH agent forwarding will help you accomplish. If you are working on a forked GitHub repo (repository) then you will want to setup remote upstream to keep it up to date.

SSH Agent Forwarding
The ways to access a GitHub repo are with HTTPS or SSH. GitHub recommends using HTTPS because its better to avoid storing SSH keys on a remote server. Main reason is you don’t want to risk someone else having access to your GitHub account and accidentally or purposefully abusing it.
SSH agent forwarding is how you can use your SSH keys but not store them on the remote server. The agent forwards you GitHub keys from your personal computer when logging into the server. The value of using SSH agent forwarding is you have secured keys that help verify you when working with GitHub on the remote server and you don’t have to constantly enter your username and password or store those details in a config file on the remote server like you would if you used HTTPS. Note, the benefit of HTTPS are these urls work everywhere even when you are behind a firewall proxy.
This GitHub doc gives a great rundown of how to setup agent forwarding. These are some summary steps to take you through the process.
If you don’t have an SSH key setup already locally on your computer with GitHub then create them. Otherwise, find the path to them.
Make sure the key is added to the SSH agent.
ssh-add [Your GitHub Key]
Check if the ssh-agent is running on your local computer and remote server.
echo "$SSH_AUTH_SOCK"
If there is an empty result from the above command then it’s not running.
Start the ssh-agent with the following in your local computer terminal.
eval `ssh-agent -s`
ssh-add
Restart the terminal window to make sure the changes take effect.
To avoid logging in and using your SSH key and not using Host *, use the following to login to the instance and forward your keys.
gcloud compute ssh --ssh-flag=”-A” [Instance]
The “-A” flag enables forwarding of the authentication agent connection. This will make your keys available to use on the remote machine only while you are logged in. As with most things there are risks with this approach but it is still better than storing the keys on the server.
Another option, is to setup a config file. If you don’t already have one in your ~/.ssh folder then create a file named config in the ~/.ssh folder.
Add the following to your config file.
Host [External IP]
  ForwardAgent yes
Note [External IP] is what you replace with your server’s IP or you can use the domain name. You have to update every time you shut down and spin up the VM since the IP changes unless you make it static.
Remote Upstream
Next step is to pull down the repo and set it up for remote upstream. Remote upstream is a way to work on a forked repo and keep it updated with changes from the original upstream repository.
When I worked elsewhere, we created branches off master and then did PRs back into the master. Often we had a bunch of branches hanging off master that never got merged. Sometimes those branches became the de facto reference and didn’t get merged back to master. The issue here is the project can become too complex to collaborate on and maintain with other team members because you don’t know what the source of truth is.
A good tech hygiene practice to contribute to a team project is to develop against a forked repo (a copy in your account), keep it updated with the latest using remote upstream and submit changes through a PR to the original upstream repo. If you are the only one working on the repo then you don’t need to do any of the following.
Below, I run through a specific repo example of how to set this up using Google’s open source repo Python Docs Samples. Change the repo URLs based on the repo you are working with.
- Fork & Clone It
Fork the repo on GitHub’s site.
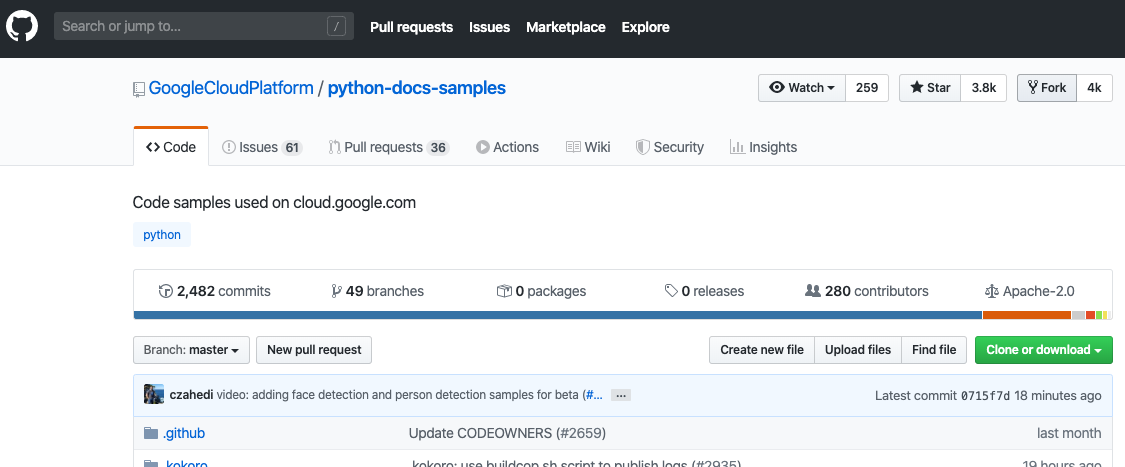
Copy the SSH URL from your forked copy of the original repo.
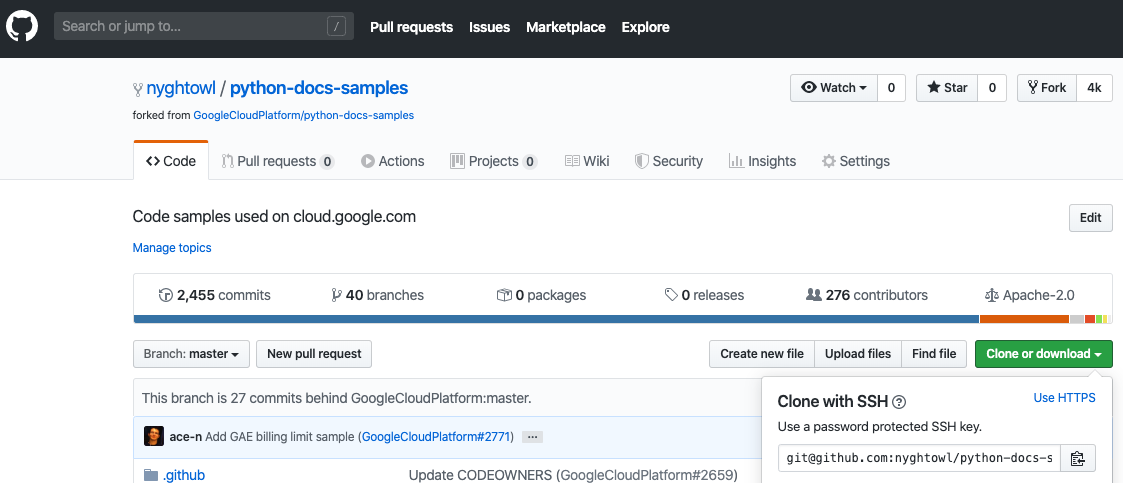
You’ll see that what shows in GitHub on my forked repo doesn’t show the same user as the last committer. This is because I forked it a few weeks ago and haven’t updated it yet.
Clone the repo to your remote server with the copied SSH URL by entering it into the remote server’s command line.
git clone git@github.com:nyghtowl/python-docs-samples.git
2. Add Remote Upstream
After cloning the repo, move into the repo folder and setup upstream link to the original repo by adding a new remote URL called upstream.
cd python-docs-samples
git remote add upstream git@github.com:GoogleCloudPlatform/python-docs-samples.git
You can verify the repositories that are linked to the project.
git remote -v
3. Update from Upstream
Update your forked repo on the remote server with any changes.
git fetch upstream
This pulls the latest version of the remote upstream master. It’s a good practice to regularly keep your forked master branch synced with the remote upstream master.
Merge upstream changes on your master branch in the server.
git merge upstream/master
Note you can and may need to use rebase and squash and then merge.
Push those changes up to your forked repo on GitHub.
git push origin master
Now, you’ll see that my forked repo on GitHub shows the latest commit from the original remote upstream repo.
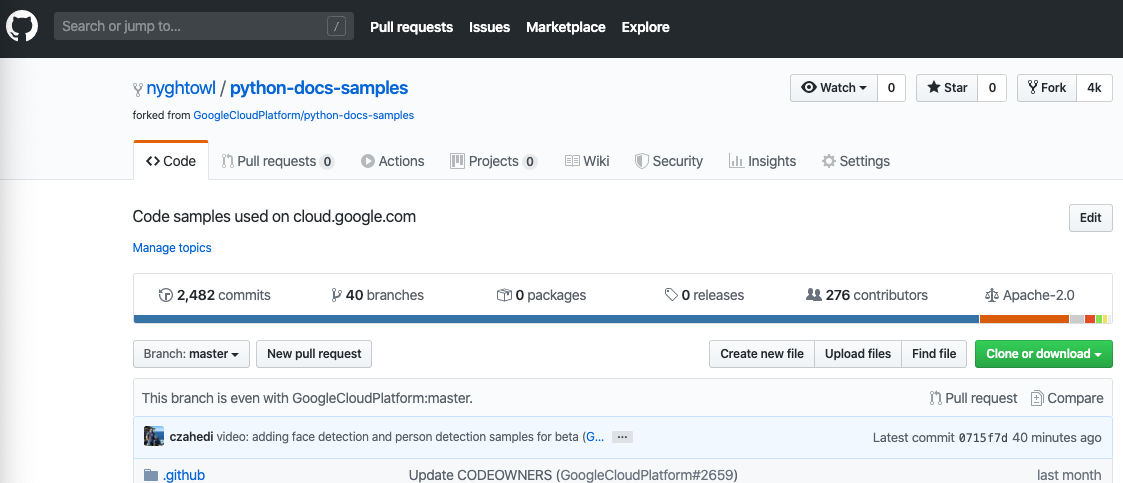
When you have a completed changes for the repo, follow the steps above to pull and merge/rebase the upstream master into your copy and push that onto your GitHub repo.
4. Pull Request Changes to Original Upstream Repo
Once changes are loaded into your repo on GitHub, create a Pull Request with New pull request to get those changes approved and merged into master.
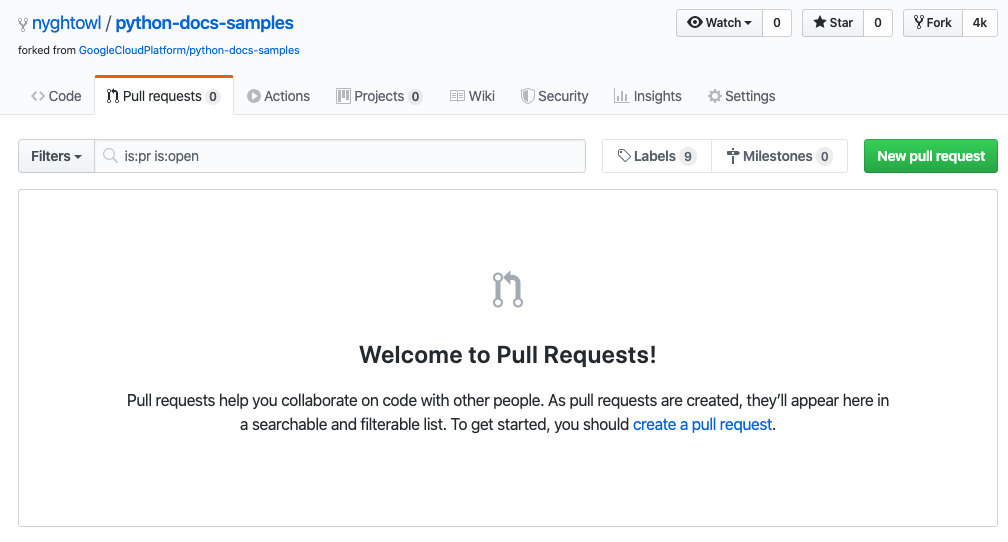
Below, is the Comparing page that shows what changes will go into the PR and how it is submitting a PR from your repo to the remote upstream repo.
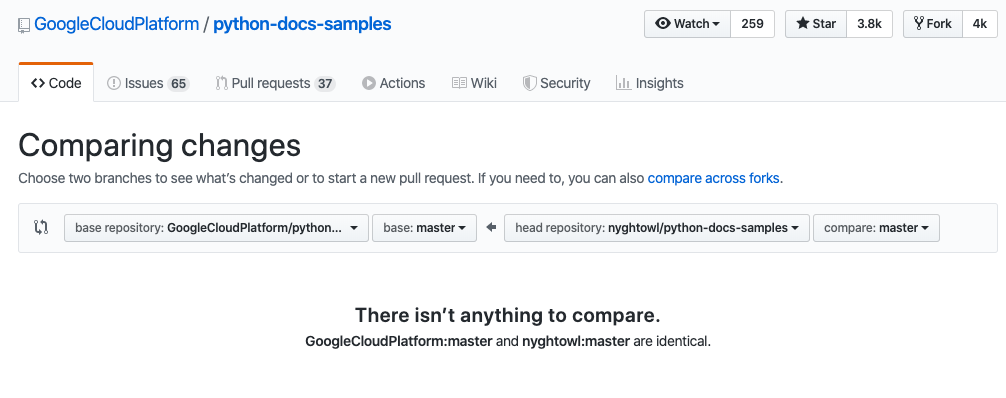
As you can see I don’t have any changes to commit at this time. When there is a change and it is related to a specific issue then include the issue number in the PR. For more information on creating a PR, checkout the GitHub docs.
Wrap Up
This post stepped through how to setup SSH agent forwarding to share your SSH key with a remote instance. This enables using a local SSH key for a GitHub account on the remote instance without storing it there.
Also, we covered how to fork and clone your repo copy onto the remote server, and how to use remote upstream to keep it update with changes from master. For more information on using git and GitHub checkout the GitHub Guides.
Note, these are techniques (with some modification to the exact steps and some name changes) are ones you can use with any cloud-based distributed version-control system repository that you are collaborating on with a team and working off of a remote server. Go forth and clone, commit and PR all the things.
$ cd /posts/ — all posts